Set up your mosque
The onboarding guides you through the basic setup of your mosque on moschee.io. In just a few steps you configure everything you need to get started.
Overview
The onboarding consists of several steps you complete one after another:
- Welcome – Name and logo of your mosque
- Location – Address and coordinates
- Prayer times (optional) – Configure prayer times
- Contact – Email, phone, and website
- Verification – Upload a document
- Done – Summary and finish
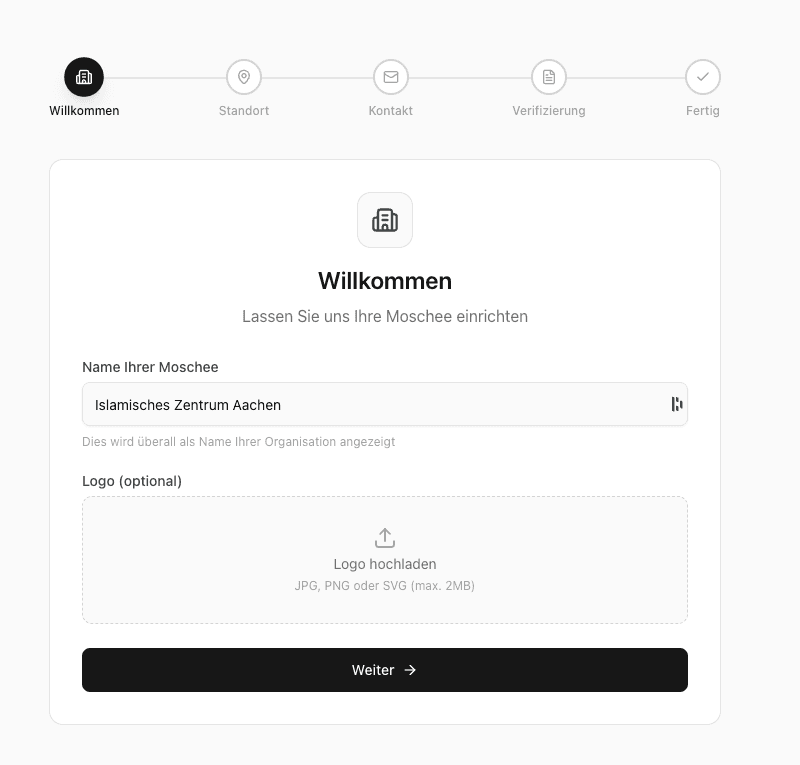
Welcome
In the first step you enter your mosque name. This name is shown throughout the platform.
What you need to enter:
-
Mosque name (required)
- The official name of your mosque or organization
- Example: "Islamic Center Berlin" or "DITIB Mosque Munich"
-
Logo (optional)
- Upload a logo that will appear across the platform
- Supported formats: JPG, PNG, SVG
- Recommended size: At least 200x200 pixels
Tips:
- Use the full, official name of your mosque
- You can change the logo later in Settings
- A high-quality logo improves your presentation
Location
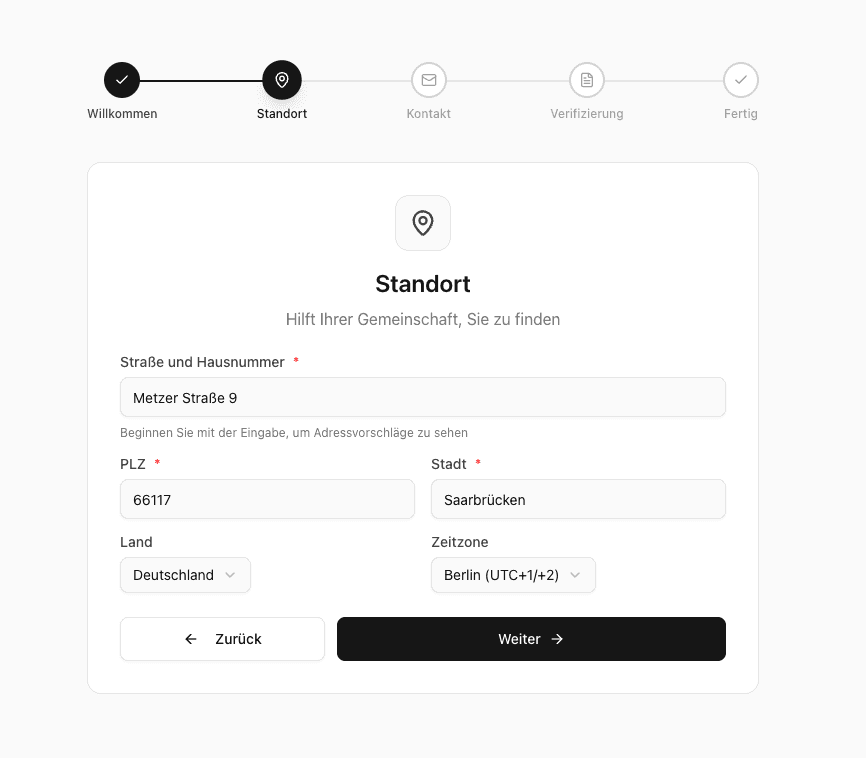
In the second step you enter your mosque’s address and location. These details are important for:
- Calculating prayer times (if enabled)
- Displaying your mosque on maps
- Helping visitors find you
What you need to enter:
-
Street and house number (required)
- Start typing your address
- Example: "Musterstraße 123"
- Pick an address from the suggestions
- Important: When you select a suggestion, GPS coordinates, ZIP, city, and country are filled automatically
-
ZIP code (required)
- Filled automatically when you select an address
- Can also be entered manually
- Example: "12345"
-
City (required)
- Filled automatically when you select an address
- Can also be entered manually
- Example: "Berlin"
-
Country (required)
- Filled automatically when you select an address
- Can also be selected from the list manually
-
Time zone (required)
- Suggested automatically based on the selected country
- Can be adjusted if needed
- Important for accurate prayer time calculations
How automatic address lookup works:
Start typing your address in the "Street and house number" field
Address suggestions appear while you type
Select your address from the suggestions
The following are filled automatically:
- ZIP
- City
- Country
- Time zone (based on country)
Tips:
- GPS coordinates are especially important if you plan to use prayer times
- If you want to adjust the automatically generated coordinates, you can do so later at any time
Contact
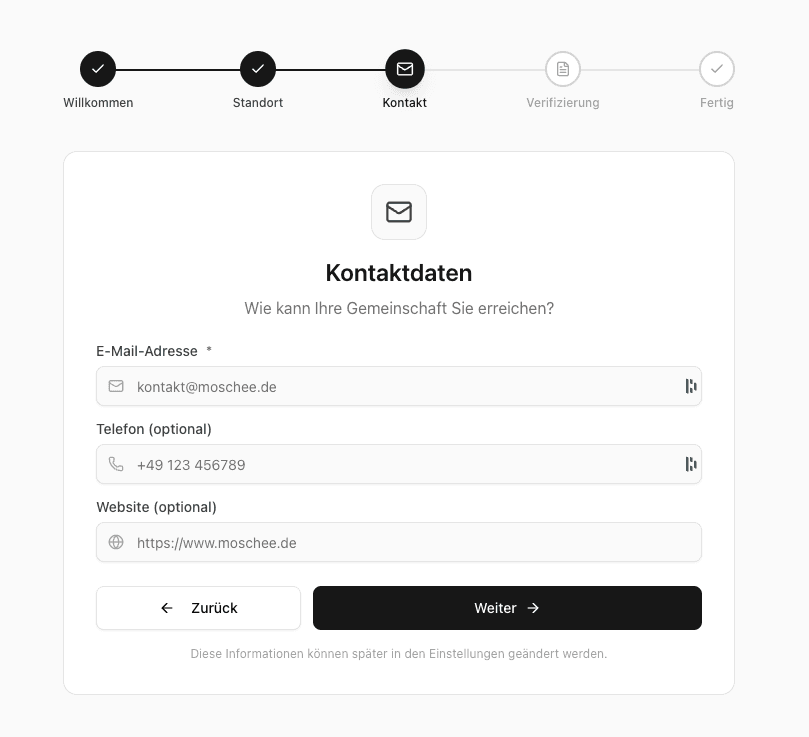
Enter your mosque’s contact details so visitors can reach you.
What you can provide:
-
Email address (required)
- The primary email for your mosque
- Example: "contact@moschee.de"
- Used for notifications and communication
-
Phone (optional)
- Phone number for inquiries
- Example: "+49 123 456789"
-
Website (optional)
- URL of your website, if available
- Example: "https://www.moschee.de"
Tips:
- Use an email address that is checked regularly
- The email is also used for important notifications
- You can change all contact details later in Settings
Verification
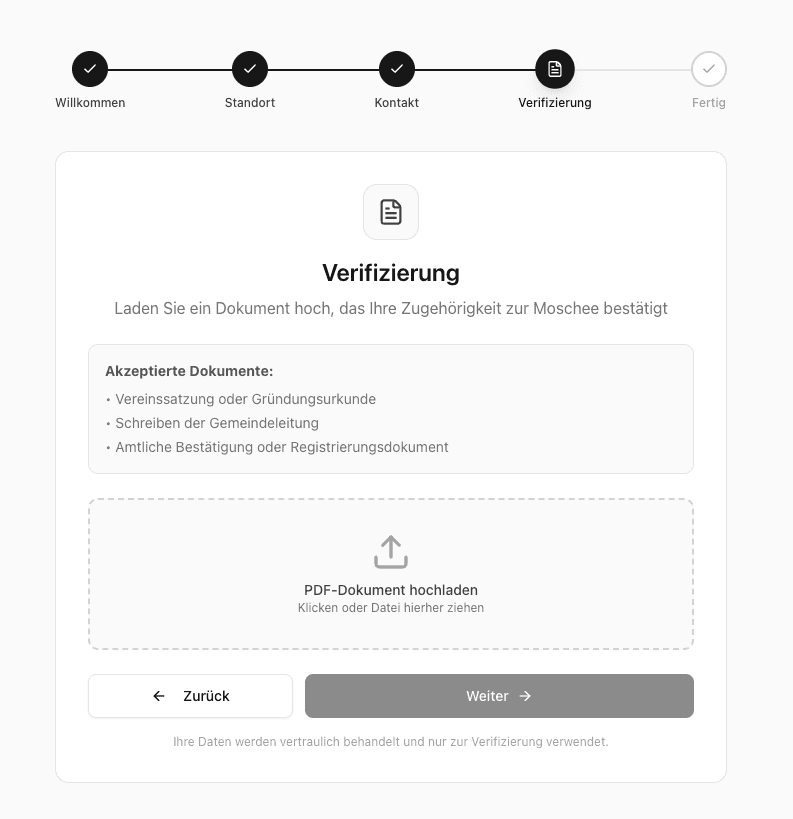
This step only appears if your mosque has not yet been verified. Verification is required and confirms you are authorized to manage the mosque.
What you need to upload:
A PDF document proving your affiliation with the mosque. Accepted documents:
- Articles of association / founding certificate
- Letter from the community leadership
- Official confirmation or registration document (e.g., Vereinsregister)
Steps:
Click the upload area or drag a PDF file into it
Select a PDF file (max 10 MB)
Click "Upload document"
After a successful upload you can continue
Important notes:
- Only PDF files are accepted
- Maximum file size: 10 MB
- Your document is handled confidentially and only used for verification
- You’ll receive a notification once verification is complete
What happens after upload?
- Our team reviews your document
- You receive an email notification about the status
- After successful verification you get full access to the platform
Done
In the final step you see a summary of everything you entered.
What you’ll see:
- Mosque name: The name you entered
- Location: City and country
- Contact: Email address
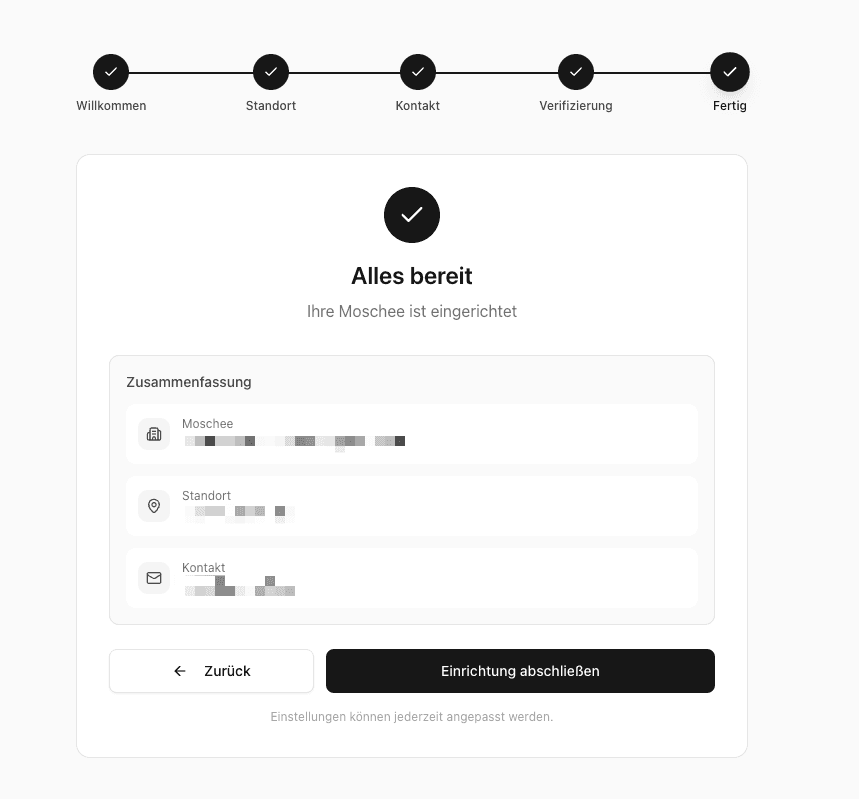
Finish:
Review all entries
If something is incorrect, use "Back" to return to the relevant step
Click "Complete setup"
After finishing, your settings are saved and you’ll be redirected to the dashboard.
After onboarding
Next steps:
- Choose a plan: Visit the billing page to review available features and limits2. Adjust prayer times: If needed, tweak prayer times in Settings
Update settings:
You can change everything entered during onboarding at any time in Settings:
- Organization settings → General (name, logo)
- Organization settings → Location (address, coordinates)
- Organization settings → Contact (email, phone, website)
- Prayer times → Settings (calculation method, times)
Frequently asked questions
Help and support
If you have questions or run into issues during onboarding:
- Email: support@moschee.io
- Help in the dashboard: Use the help icon in the dashboard
- Documentation: You’ll find more guides throughout this documentation